Deploy HailBytes SAT on AWS
Launch a fully-configured HailBytes SAT instance on AWS in under 5 minutes using CloudFormation.
Overview
This tutorial walks you through deploying HailBytes SAT on AWS using our pre-configured CloudFormation template. The automated deployment includes EC2 instance provisioning, security group configuration, and initial setup.
Prerequisites
- AWS Account with EC2 permissions
- Basic understanding of AWS CloudFormation
- SSH key pair for EC2 access (optional)
What You'll Get
- EC2 instance running HailBytes SAT (t3.medium recommended)
- Security group with HTTPS (443) and Admin (3333) ports
- Elastic IP for consistent access
- PostgreSQL RDS instance for data persistence
- Pre-configured NGINX reverse proxy with SSL

AWS Deployment Architecture - What you'll build in this tutorial
Step 1: Access AWS CloudFormation
Log into your AWS Console and navigate to the CloudFormation service. Select your preferred region (us-east-1, us-west-2, or eu-west-1 recommended for best performance).
- Go to AWS Console → Services → CloudFormation
- Click "Create Stack" → "With new resources (standard)"
- Select "Template is ready"
- Choose "Upload a template file"
Step 2: Upload HailBytes Template
Download our CloudFormation template and upload it to AWS:
# Download template
curl -O https://hailbytes.com/templates/hailbytes-sat-cloudformation.yaml

# Or use AWS CLI
aws cloudformation create-stack \
  --stack-name hailbytes-sat-production \
  --template-url https://hailbytes.com/templates/hailbytes-sat-cloudformation.yaml \
  --parameters ParameterKey=InstanceType,ParameterValue=t3.medium
Upload the file in the CloudFormation console and click "Next".
Step 3: Configure Stack Parameters
Set the following parameters for your HailBytes SAT deployment:
| Parameter | Value | Description |
|---|---|---|
StackName | hailbytes-sat-production | Unique stack identifier |
InstanceType | t3.medium | 2 vCPU, 4GB RAM |
KeyPair | your-key-name | SSH access (optional) |
AdminEmail | admin@yourcompany.com | Initial admin account |
DBInstanceClass | db.t3.small | RDS database size |
Step 4: Review and Deploy
Review your configuration and launch the stack. Deployment typically takes 3-5 minutes.
- Review all parameters
- Check "I acknowledge that AWS CloudFormation might create IAM resources"
- Click "Create Stack"
- Monitor the "Events" tab for deployment progress
- Wait for status "CREATE_COMPLETE"
Step 5: Access Your HailBytes SAT Dashboard
Once deployment completes, access your HailBytes SAT instance using the provided URLs.
# Get outputs from CloudFormation
aws cloudformation describe-stacks \
  --stack-name hailbytes-sat-production \
  --query 'Stacks[0].Outputs'

# Outputs:
# - AdminURL: https://sat.yourcompany.com:3333
# - PublicURL: https://sat.yourcompany.com
# - DefaultUsername: admin
# - DefaultPassword: (check your email or EC2 user data)
Navigate to the Admin URL in your browser and log in with the default credentials. You'll be prompted to change your password on first login.
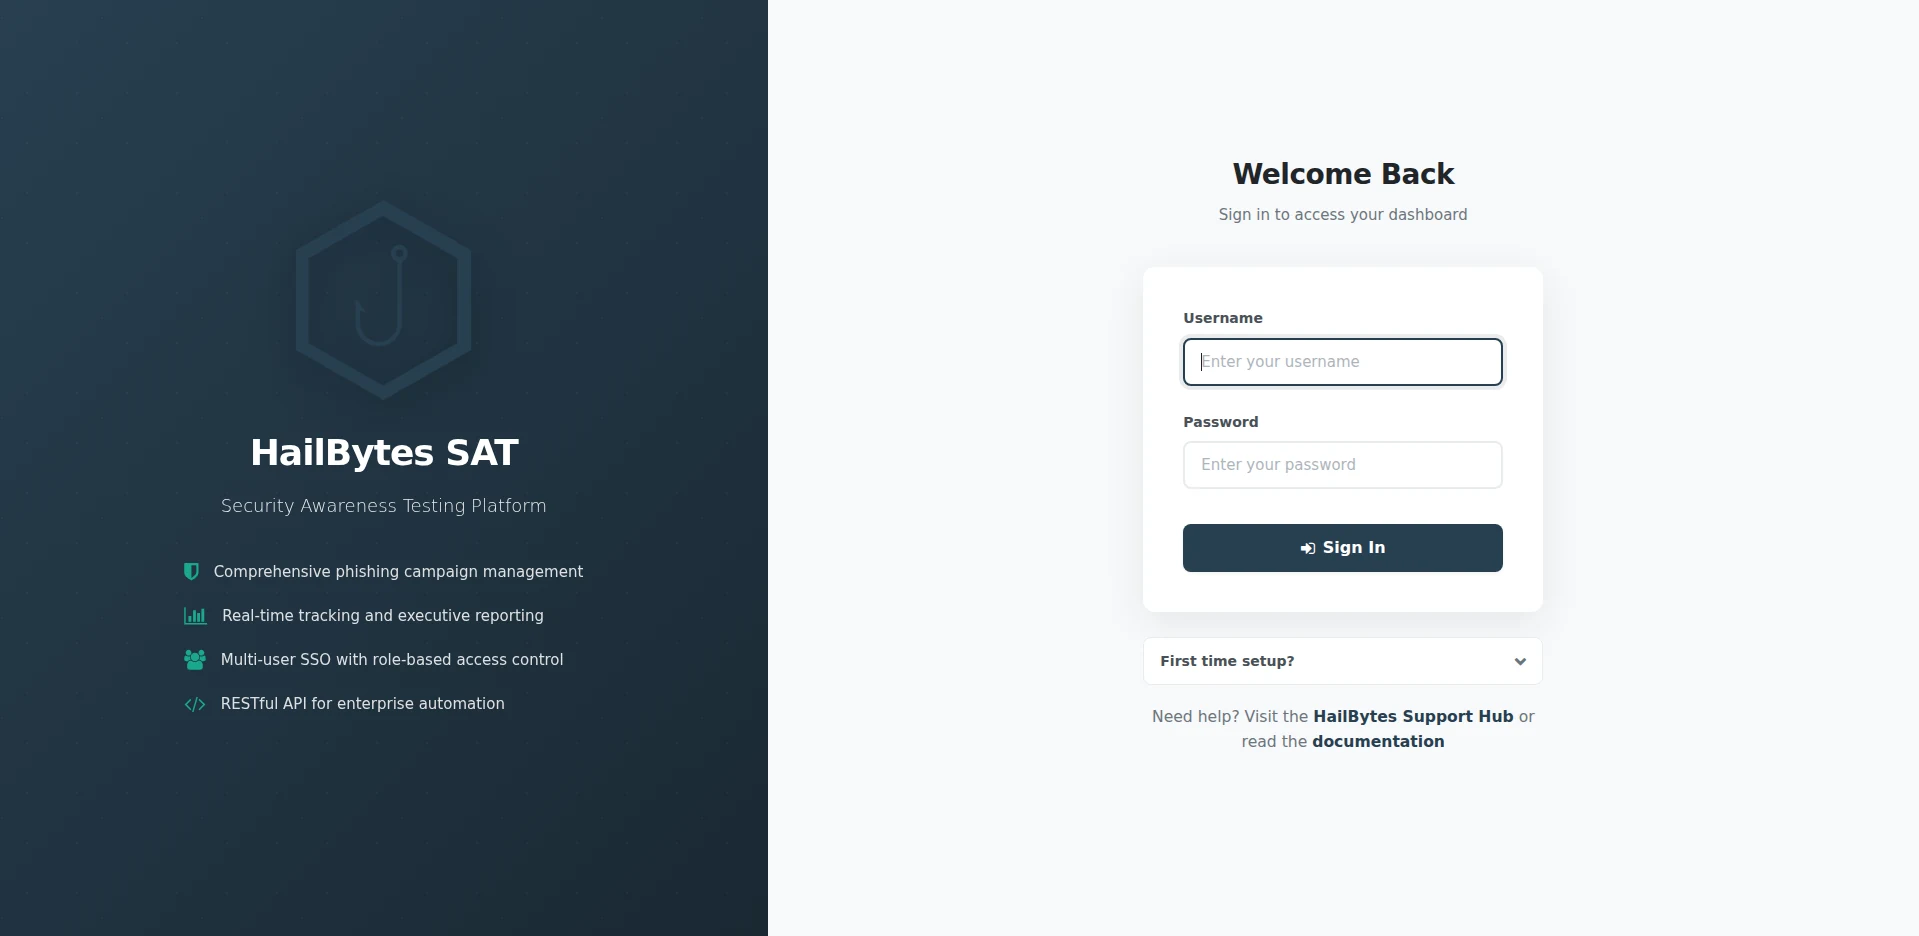
HailBytes SAT login - change the default password on first sign-in, then enable MFA.
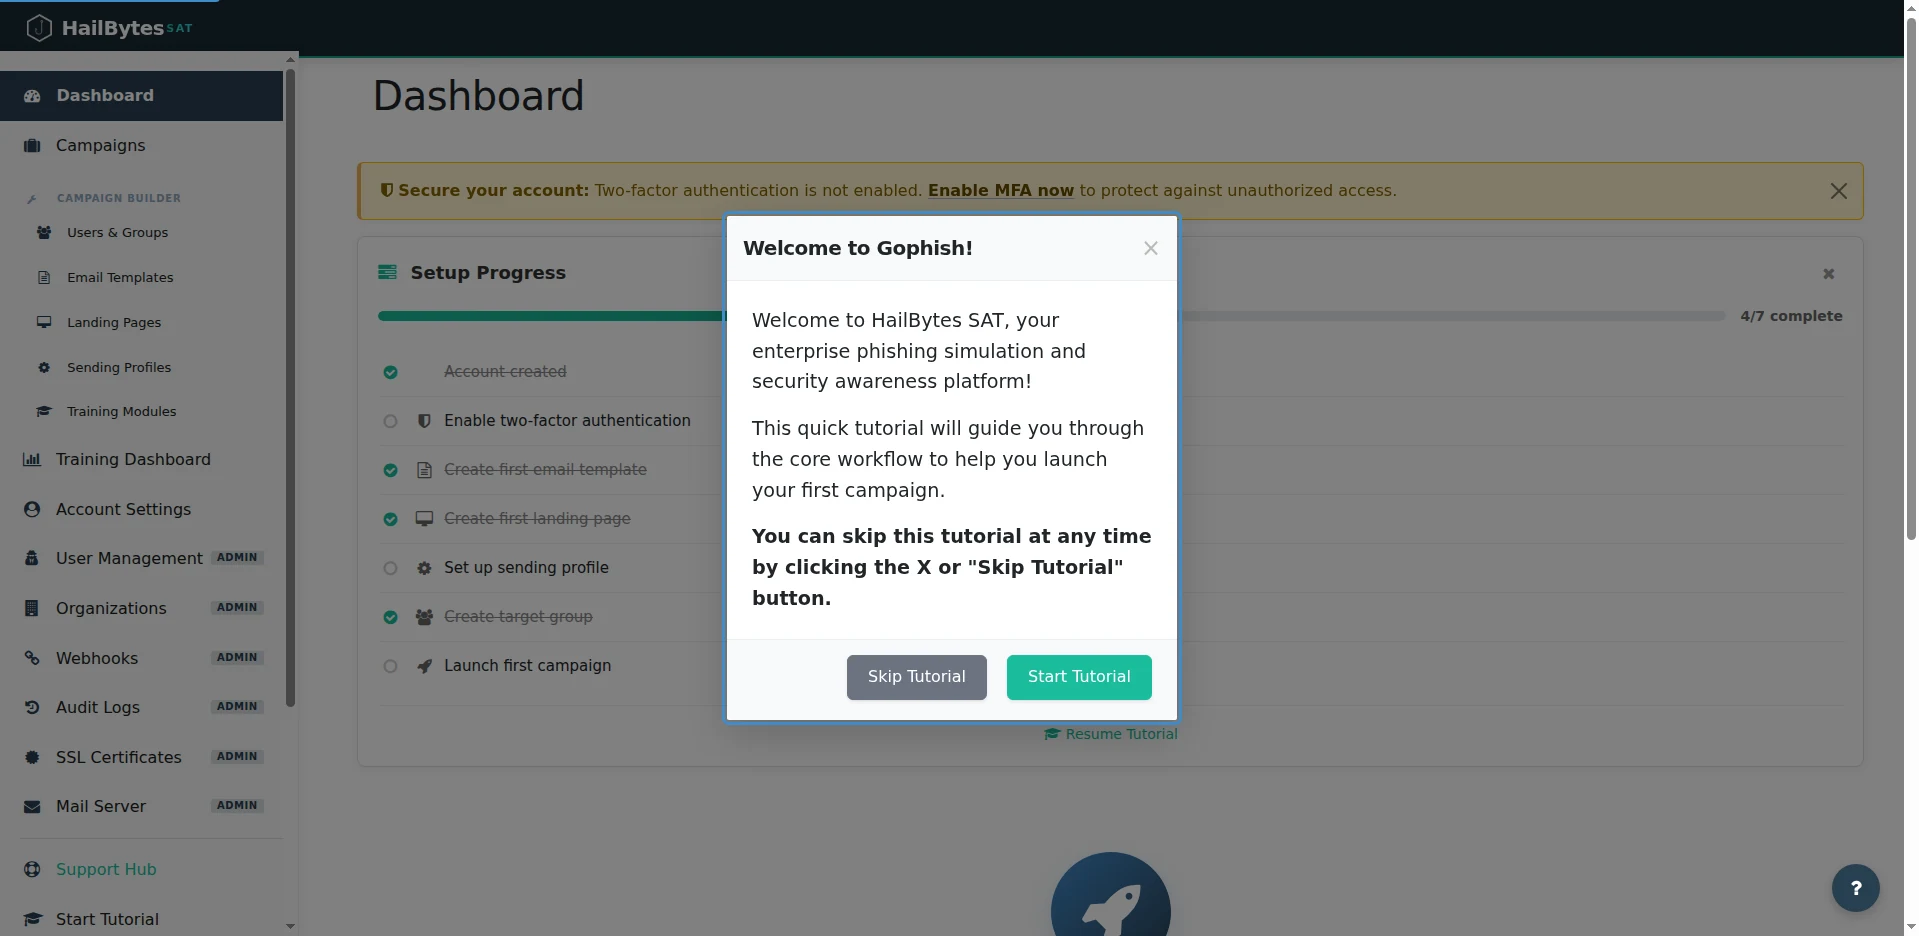
First login to the HailBytes SAT dashboard - a welcome tutorial and Setup Progress checklist guide you through your first campaign.
Post-Deployment Configuration
Complete these steps to secure and optimize your deployment:
Security Checklist
- ✓ Change default admin password immediately
- ✓ Configure SSL certificate (Let's Encrypt recommended)
- ✓ Restrict security group to your IP addresses
- ✓ Enable CloudWatch logs for monitoring
- ✓ Set up automated backups via AWS Backup
- ✓ Configure Route 53 DNS for your domain
Troubleshooting
Common Issues
Stack Creation Failed:
- Check CloudFormation Events tab for error details
- Verify you have sufficient EC2 instance limits in your region
- Ensure IAM permissions for CloudFormation, EC2, and RDS
Cannot Access Admin Dashboard:
- Verify security group allows inbound traffic on port 3333
- Check EC2 instance status is "running"
- Review EC2 system logs for application errors
Email Sending Issues:
- AWS accounts have SES sending limits by default
- Request production access via AWS SES console
- Configure SMTP settings in HailBytes SAT (see SMTP tutorial)
Cost Estimation
Monthly AWS costs for typical HailBytes SAT deployment:
| Resource | Configuration | Est. Monthly Cost |
|---|---|---|
| EC2 Instance | t3.medium (2 vCPU, 4GB) | $30 |
| RDS PostgreSQL | db.t3.small (20GB storage) | $25 |
| Elastic IP | 1 static IP | $0 |
| Data Transfer | ~100GB/month | $9 |
| Total | ~$64/month | |
Next Steps
Create Your First Campaign
Learn how to set up and launch your first phishing simulation campaign.
View Tutorial →Configure SMTP
Set up Amazon SES, SendGrid, or other SMTP providers for email delivery.
View Tutorial →Need Help?
If you encounter issues during deployment, our support team is here to help.
Contact SupportGet the Free HailBytes SAT Getting Started Guide
A 7-part email series covering everything from your first deployment to advanced configuration and real-world workflows. One email per day, no spam.