Your First Phishing Campaign with HailBytes SAT in 10 Minutes
November 13, 2025 • 8 min read
Watch: HailBytes SAT on AWS - Architecture and Deployment Walkthrough (6 min)
Most phishing simulation guides start with server provisioning, DNS records, and SMTP relay configuration. Forty-five minutes later, you still haven’t sent your first test email. This guide skips all of that. HailBytes SAT on AWS gives you a production-hardened instance with SMTP already configured, so the only thing standing between you and your first campaign is about 10 minutes of clicking.
This is the quickstart we wish existed when we were evaluating phishing simulation tools. No infrastructure decisions, no Docker troubleshooting, no DNS propagation waits - just the fastest path from “I have an account” to “I have campaign data.”
Step 1: Launch Your HailBytes SAT Instance (Minutes 0–2)
From the AWS Marketplace listing, subscribe to HailBytes SAT and launch an instance. The pre-configured AMI includes HailBytes SAT with security-hardened Ubuntu, automatic HTTPS via Let’s Encrypt, and SMTP relay credentials ready for configuration. Once the instance is running, grab the public IP from the EC2 console and navigate to https://<your-ip>:3333 in your browser.
The first login uses the default credentials printed to the instance system log. Change these immediately - HailBytes SAT prompts you to do so on first access. You now have a fully functional phishing simulation platform. Total elapsed time: roughly two minutes.
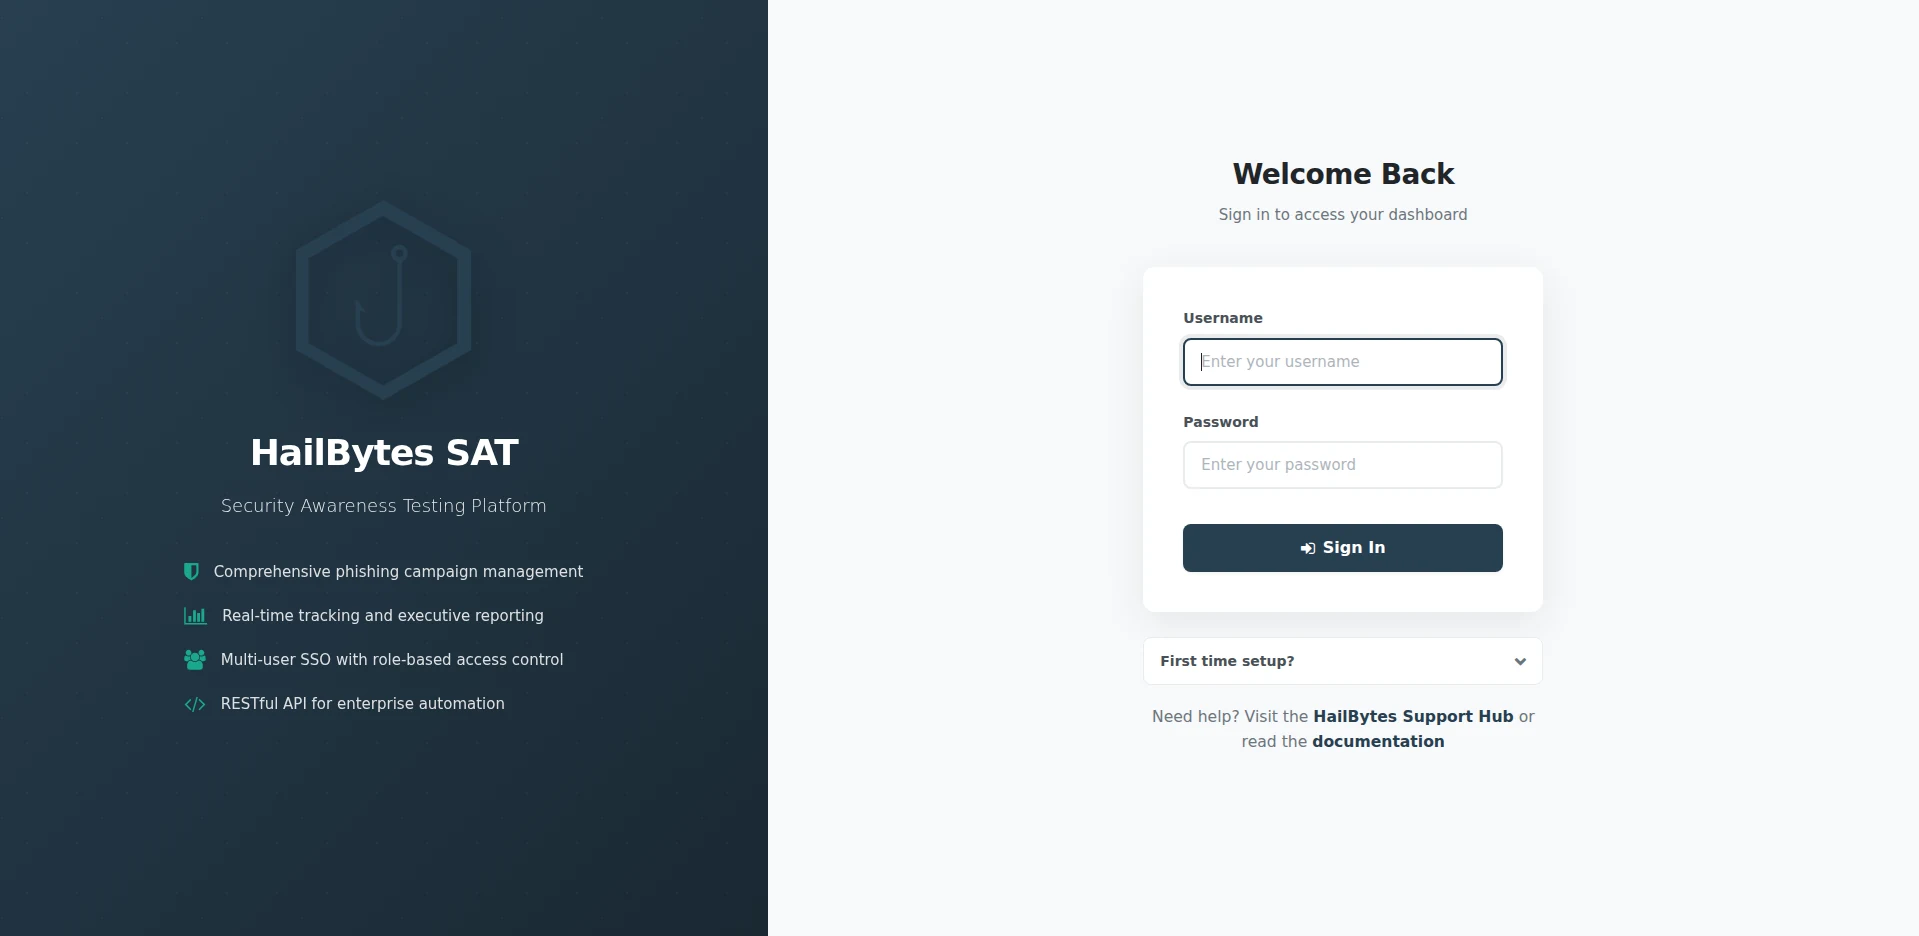
The HailBytes SAT login page - the first thing you'll see after the AWS instance finishes booting.
Step 2: Create a Sending Profile and Target Group (Minutes 2–5)
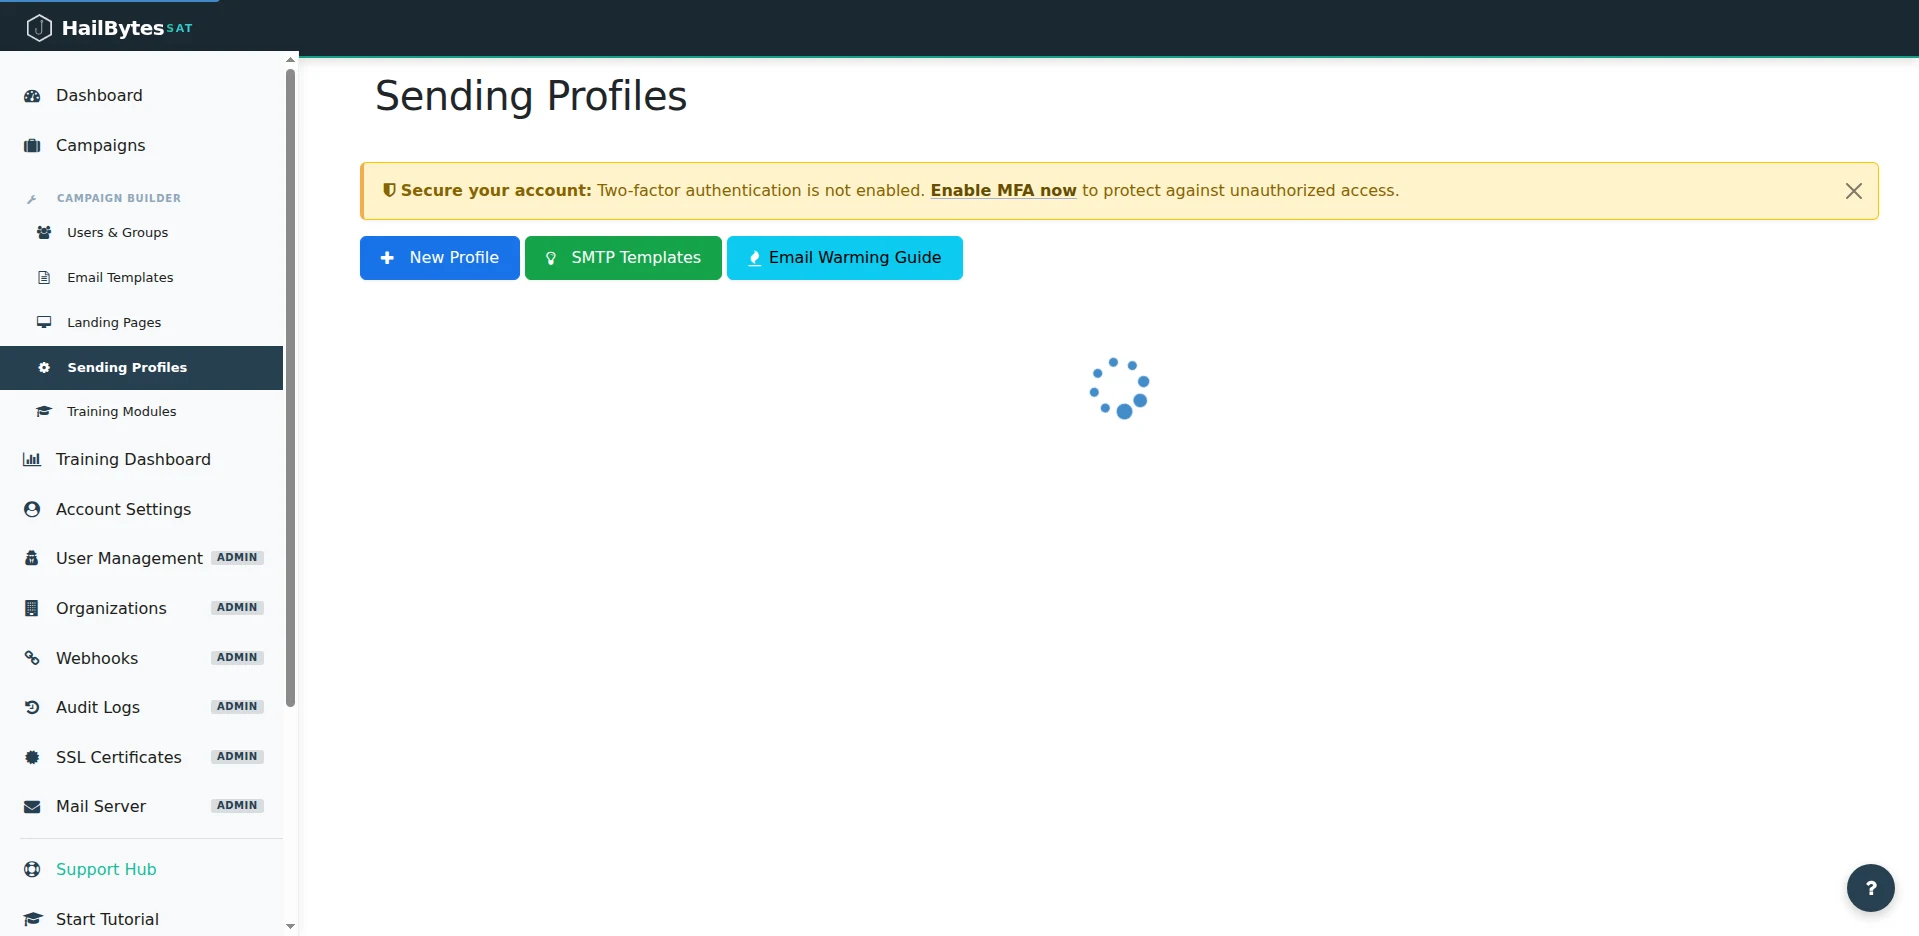
A sending profile tells HailBytes SAT which SMTP server to use for outbound emails. Navigate to Sending Profiles → New Profile and enter your SMTP relay credentials. If you’re using the included SMTP configuration, the host, port, and authentication details are in the instance documentation. Click Send Test Email to verify delivery to your own inbox before proceeding.
Next, create a target group under Users & Groups → New Group. For your first campaign, keep the group small - 5 to 10 people from your security team. Upload a CSV with columns for first name, last name, email, and position. This is your test cohort. You’ll expand to full departments once you’ve validated the workflow end-to-end.
Sending Profiles - pick a pre-built SMTP template and fire a test email before you ever touch a campaign.
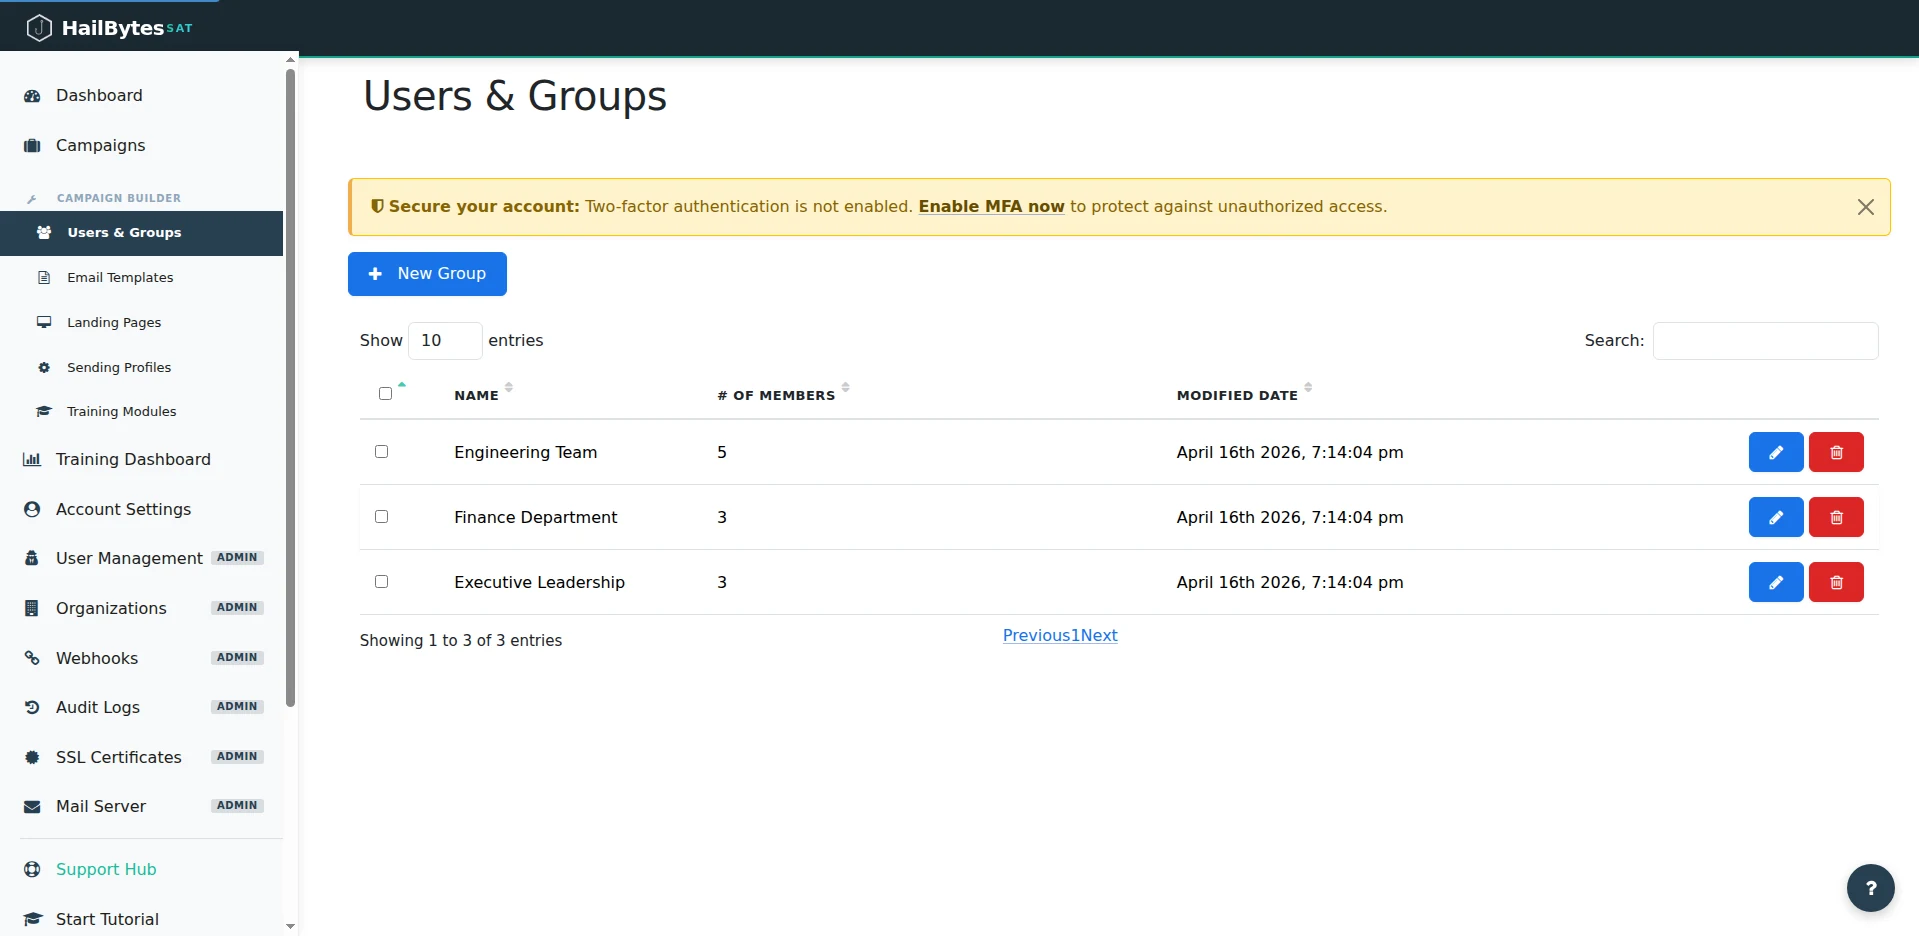
Users & Groups - your test cohort for the first campaign lives here.
Step 3: Build Your Email Template and Landing Page (Minutes 5–8)
Under Email Templates → New Template, create your first phishing email. HailBytes SAT supports HTML templates with merge fields like {{.FirstName}} for personalization. For a first campaign, start with something recognizable: a password reset notification or a shared document alert. These templates get realistic click rates without triggering immediate suspicion.
The critical detail most teams miss: add a tracking image by checking the “Add Tracking Image” box. Without it, you only capture clicks, not opens. For the landing page, navigate to Landing Pages → New Page and either import an existing page by URL or use the built-in editor. Enable Capture Submitted Data and Capture Passwords if you want to measure credential submission rates - not just clicks.
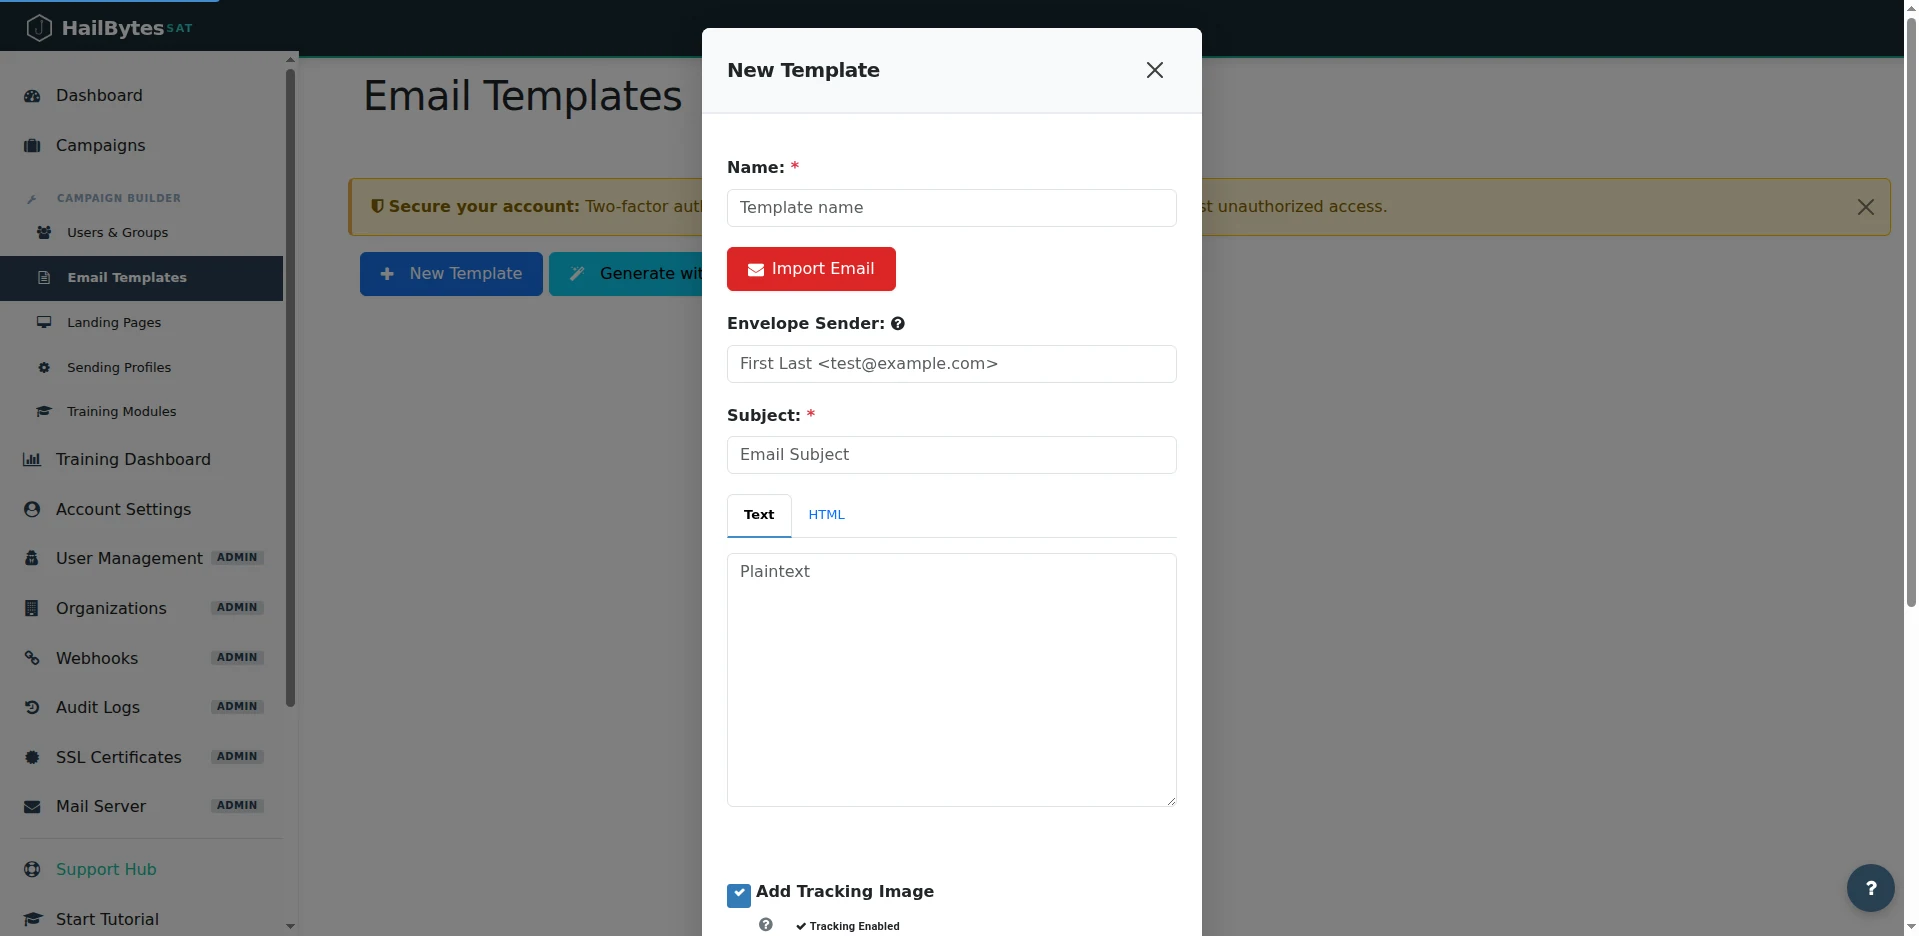
The New Template modal - don't forget Add Tracking Image, which is enabled by default.
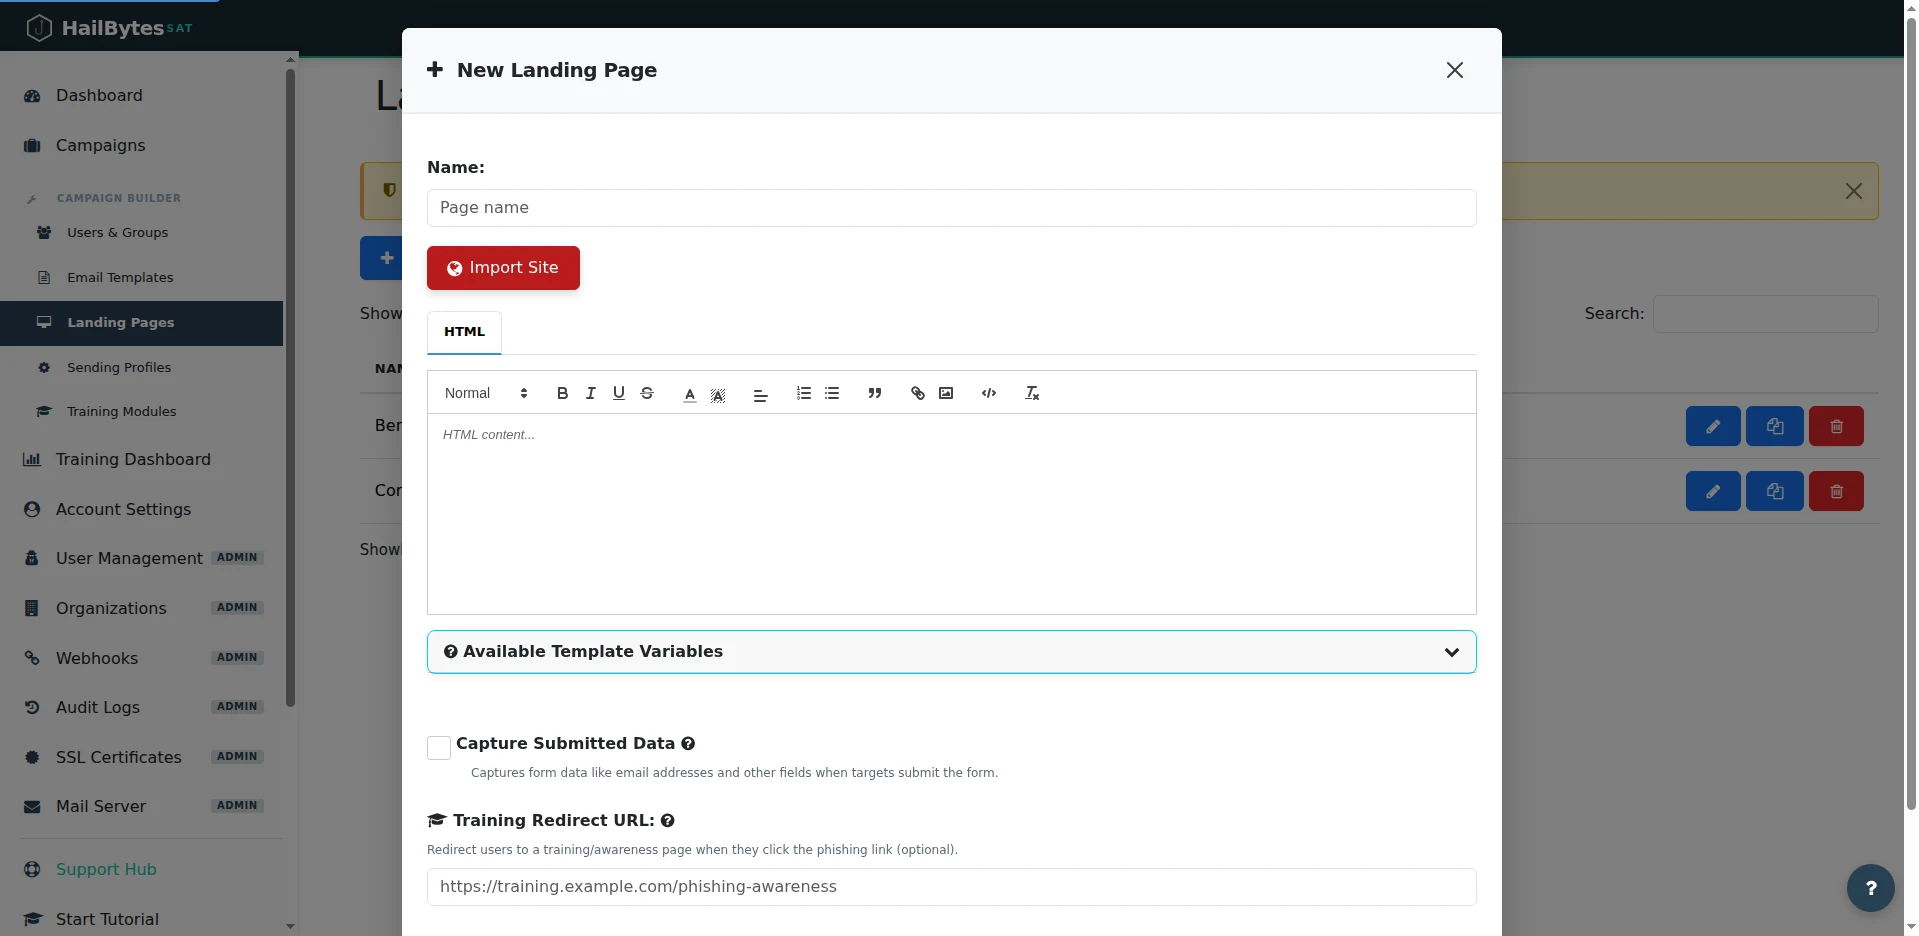
The New Landing Page editor - import a real page by URL or write HTML, then toggle Capture Submitted Data.
Step 4: Launch the Campaign and Read the Results (Minutes 8–10)
Navigate to Campaigns → New Campaign. Select your email template, landing page, sending profile, and target group. Set the launch date to now or schedule it for a future time. Click Launch Campaign.
The dashboard updates in real time as emails are sent, opened, and clicked. You’ll see four key metrics: emails sent, emails opened, links clicked, and credentials submitted. Each event includes a timestamp, so you can analyze time-to-click distribution - the metric that actually predicts organizational risk.
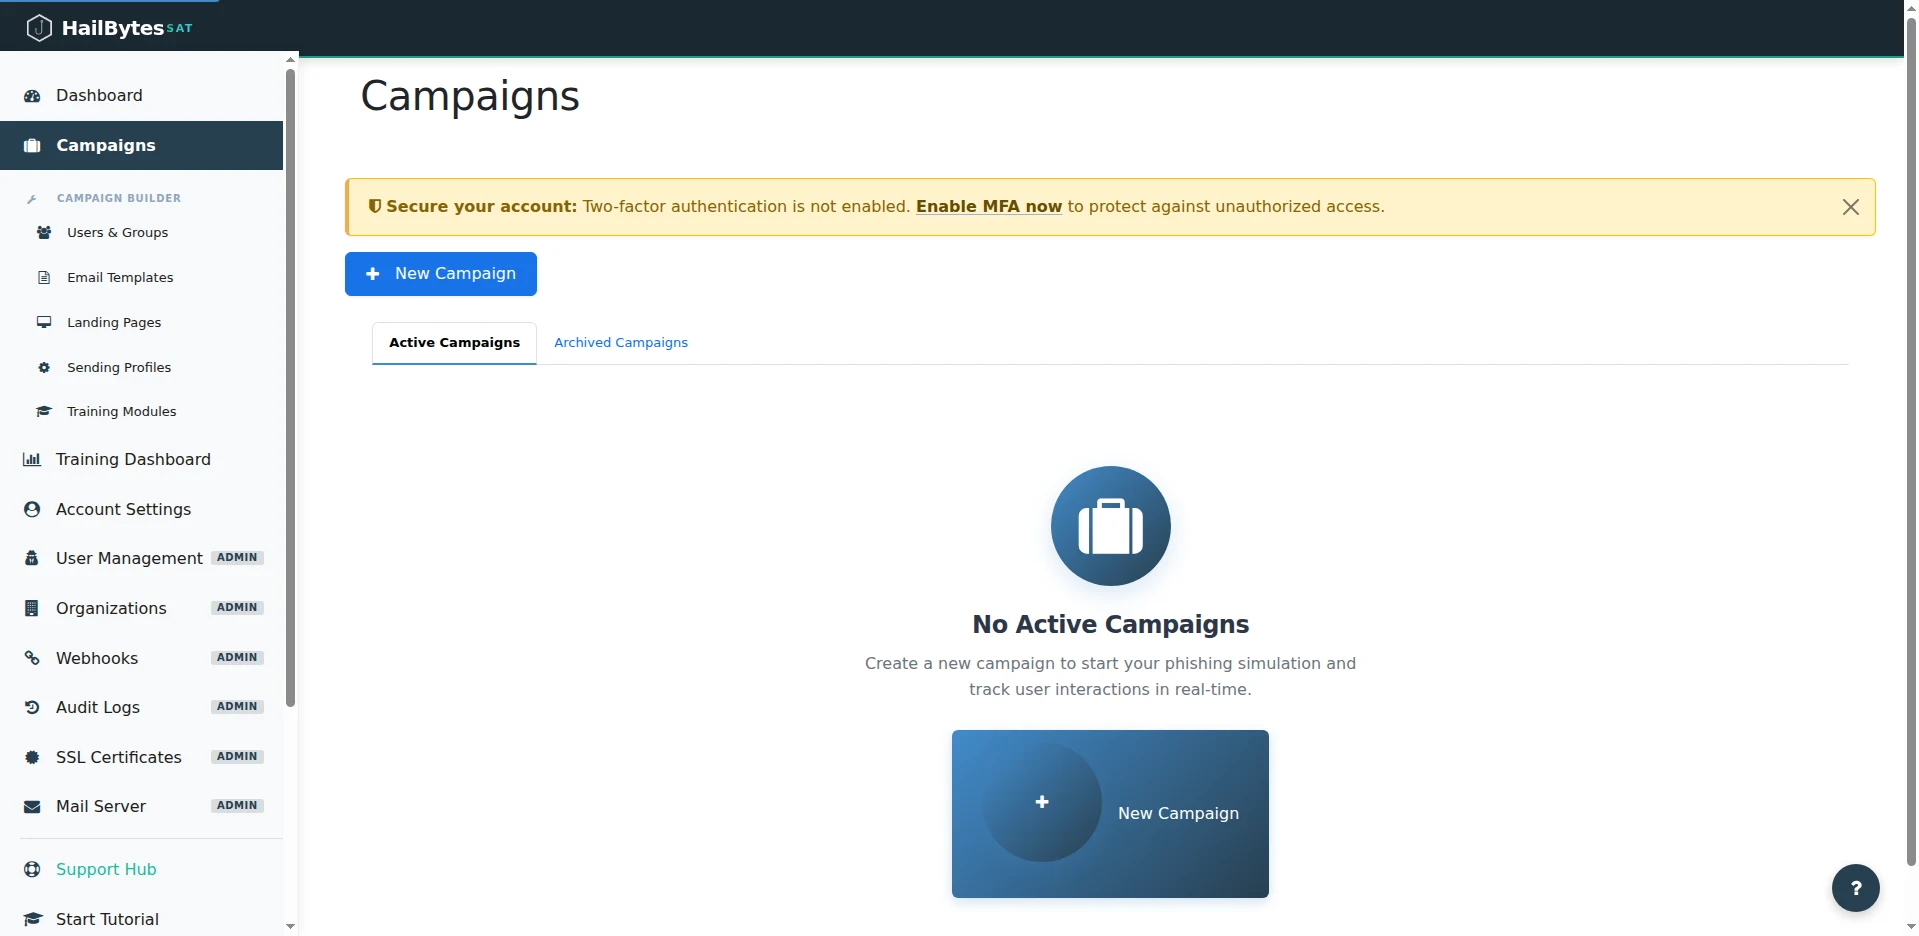
Campaigns - click Launch Campaign and the dashboard updates in real time as emails are sent, opened, and clicked.
After your test cohort confirms that emails landed in their inbox (not spam), that the landing page rendered correctly, and that click tracking works, you’re ready to scale the campaign to your full organization. The infrastructure is already sized for it - HailBytes SAT instances handle thousands of concurrent targets without performance degradation.
What to Do After Your First Campaign
One campaign tells you your baseline click rate. That number is interesting but not useful by itself. The real value comes from running campaigns monthly and tracking the trendline. Second campaigns typically show a 15–25% reduction in click rates as employees become more cautious. Third campaigns introduce variation - different template themes, different times of day, different social engineering pretexts - to measure whether the improvement holds under novel scenarios.
Export your results to CSV for compliance reporting, or integrate the HailBytes SAT API with your SIEM to correlate phishing simulation data with other security events. The combination of time-to-click data, repeat offender tracking, and department-level breakdowns gives you the narrative you need for executive reporting and training budget justification.
Ready to Launch Your First Campaign?
HailBytes SAT on AWS comes pre-hardened, pre-configured, and ready to send your first phishing simulation in minutes - not days. No infrastructure expertise required.